Arctic Freezer 34 CPU Cooler Installation for AM4 Socket
Installing a CPU cooler is an essential step in ensuring your processor operates efficiently and remains cool under load. This guide will walk you through the process of installing the Arctic Freezer 34 on an AM4 socket motherboard. Please follow each step carefully to achieve optimal performance and ensure proper installation.

Required Tools and Parts:
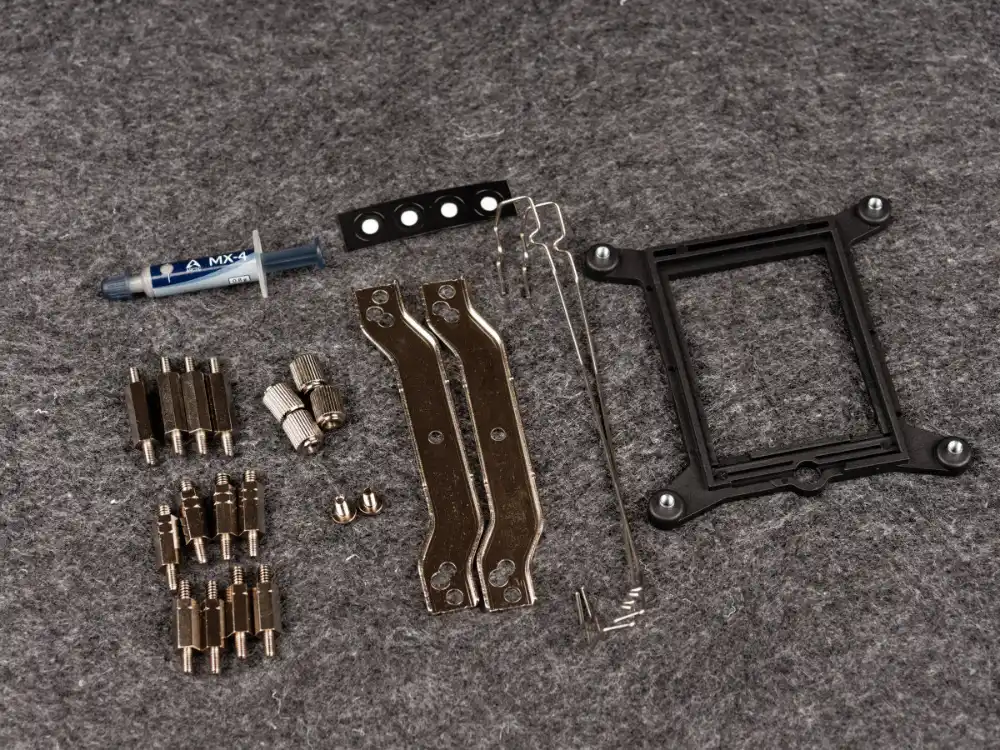
Before beginning, ensure you have the following parts from the cooler’s packaging:
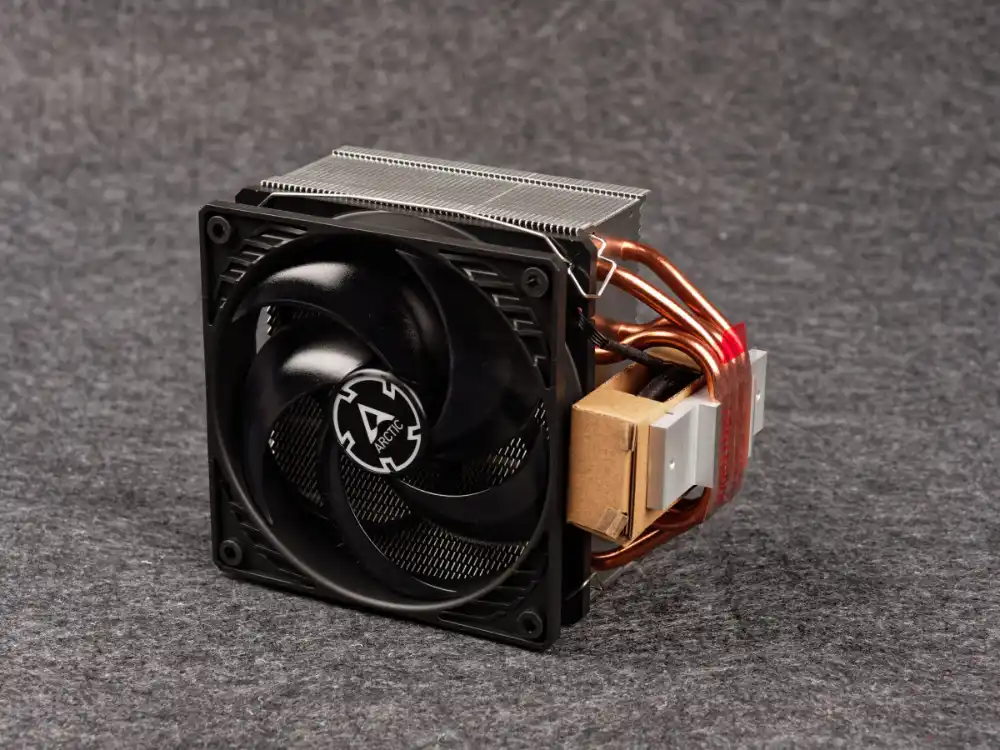
- Arctic Freezer 34 cooler
- Mounting clips
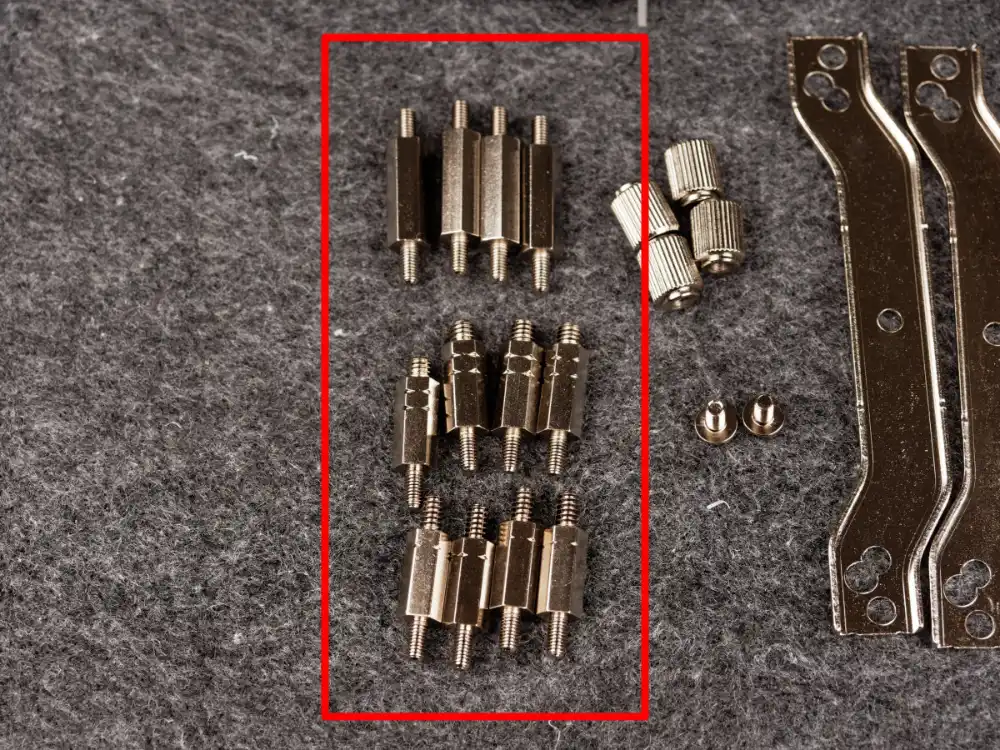
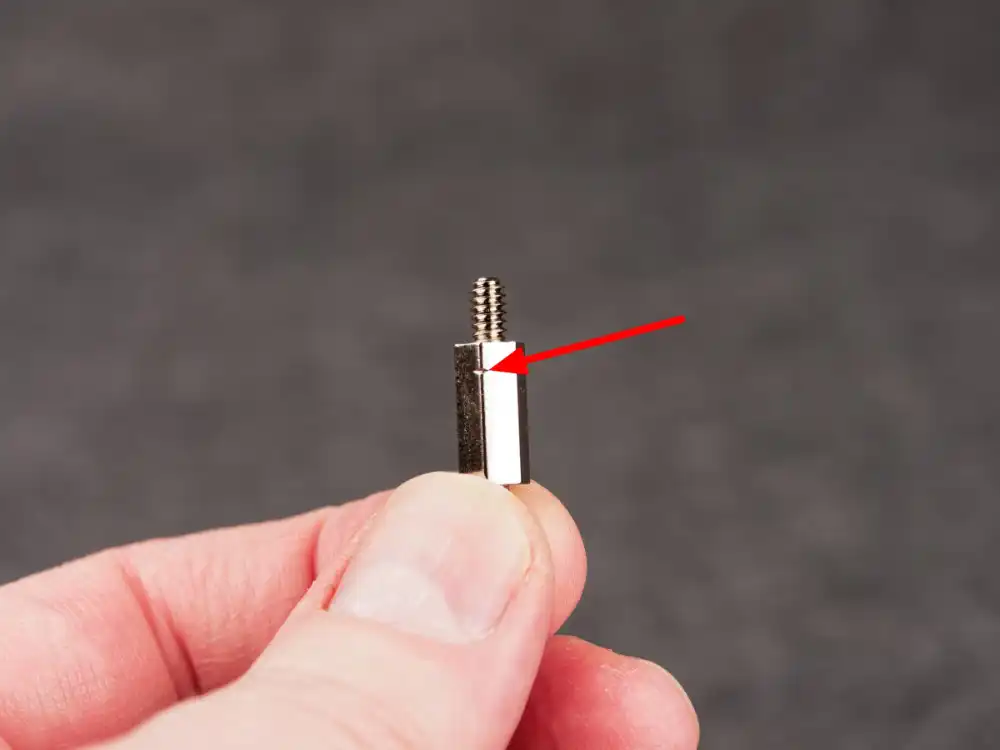
- Spacers (select the set of four spacers marked with one line for AM4 sockets)
- Thermal paste
Installation Steps:
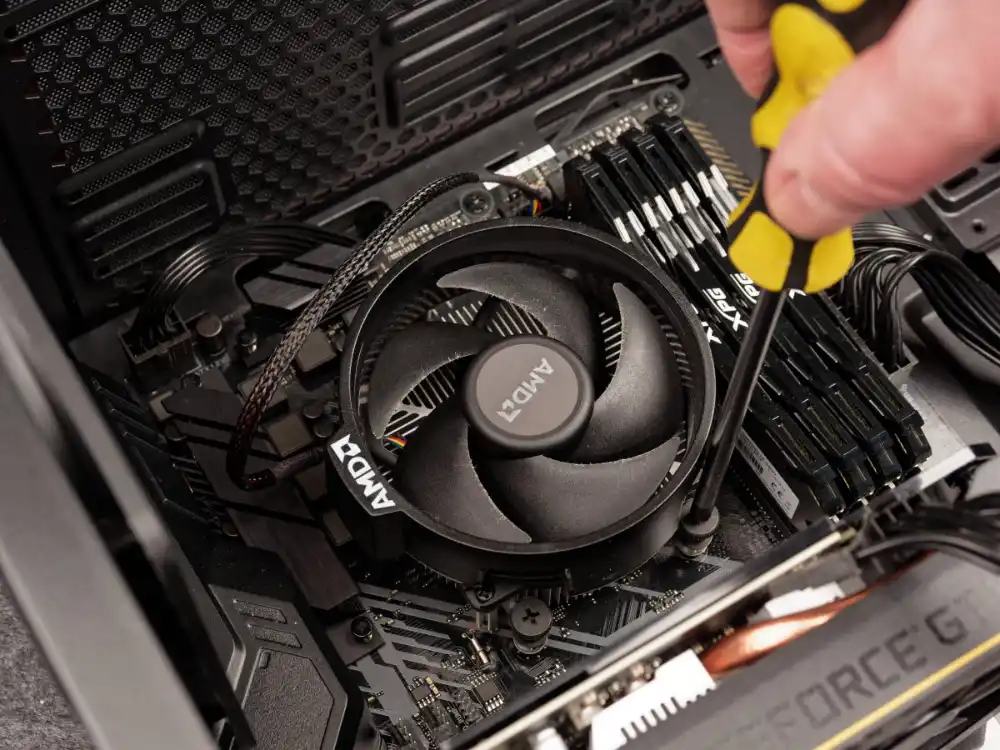
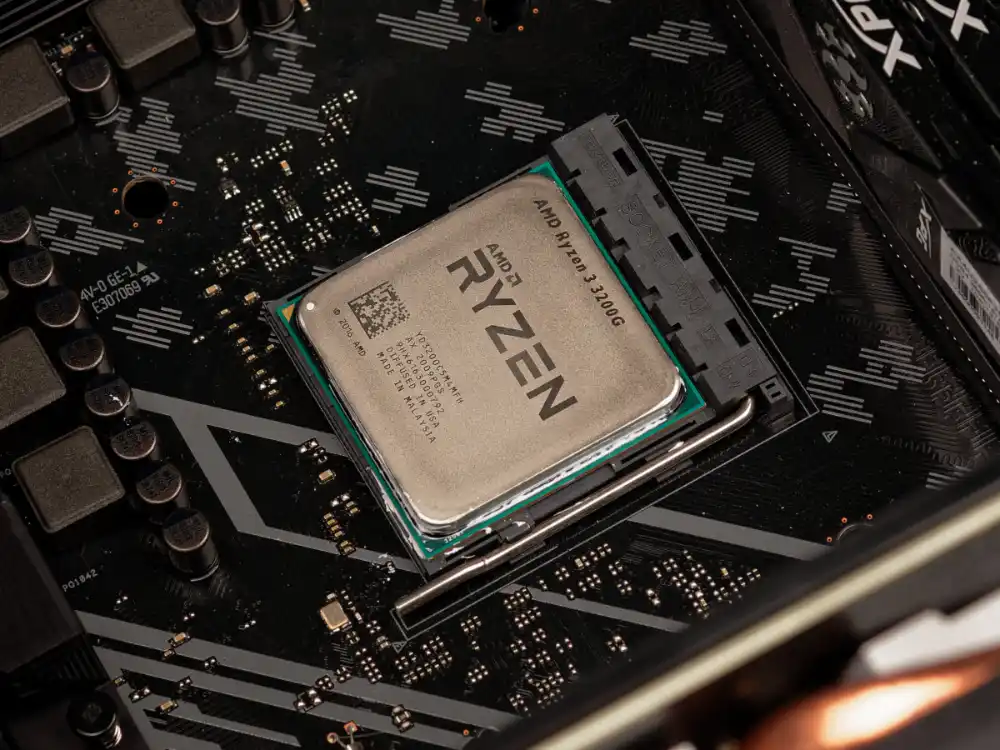
1. Remove the Old Cooler
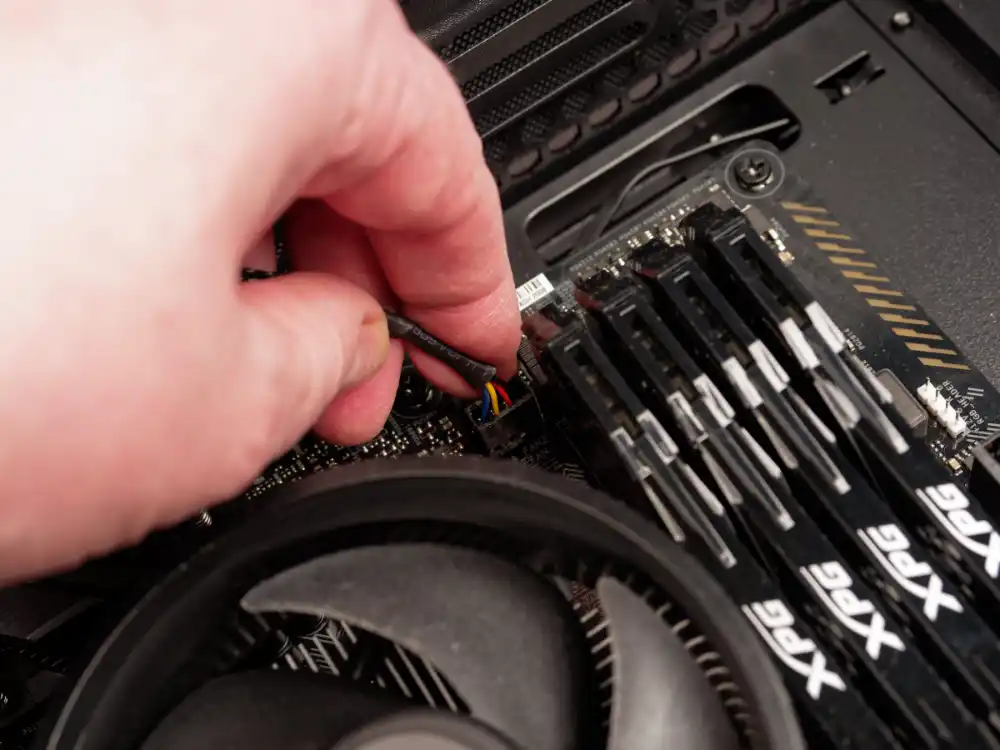
First, disconnect the fan cable and remove the existing CPU cooler from the motherboard. Note that the backplate behind the motherboard may come loose when you remove the cooler.
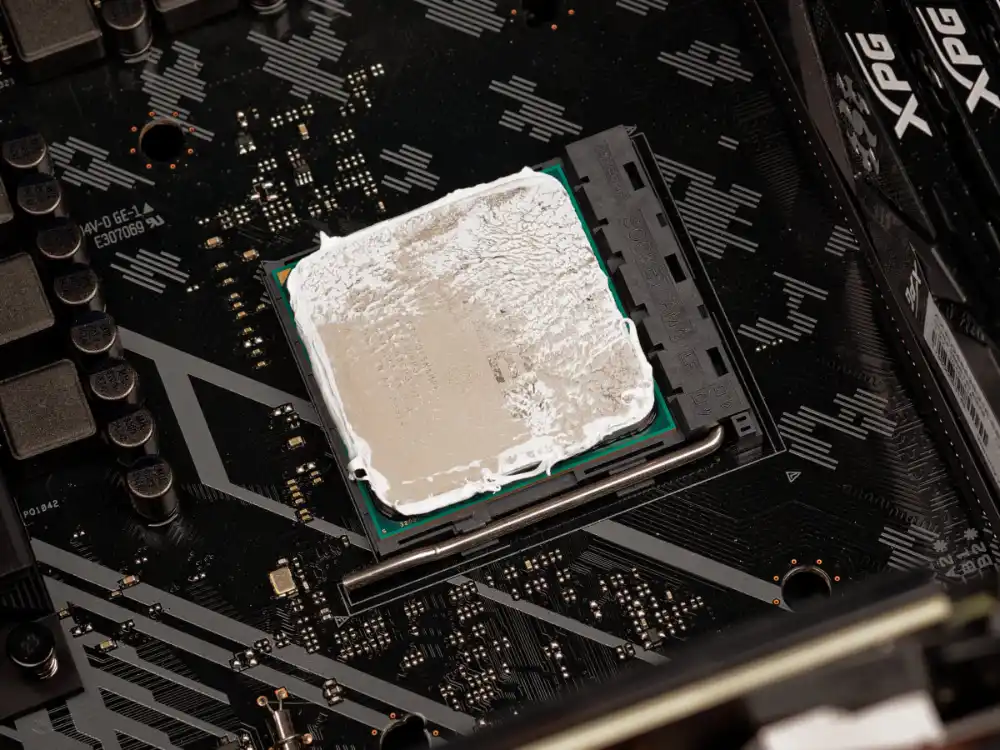
2. Clean the Processor Surface
Use an appropriate cleaning solution to remove any old thermal paste from the processor’s surface. Make sure it is clean and dry before proceeding.
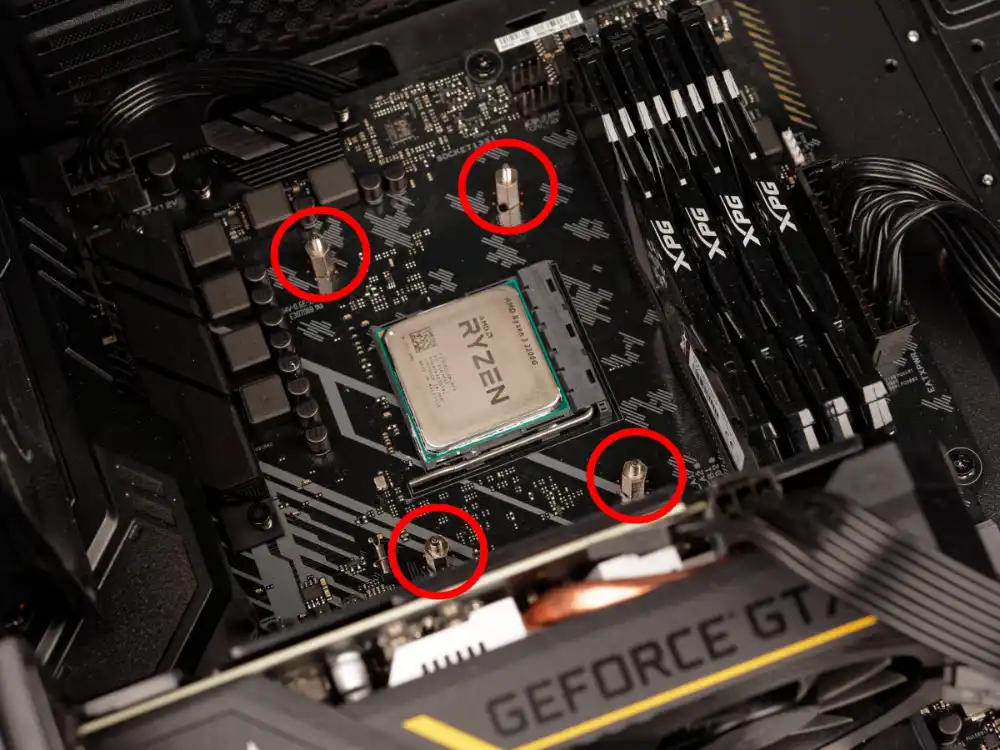
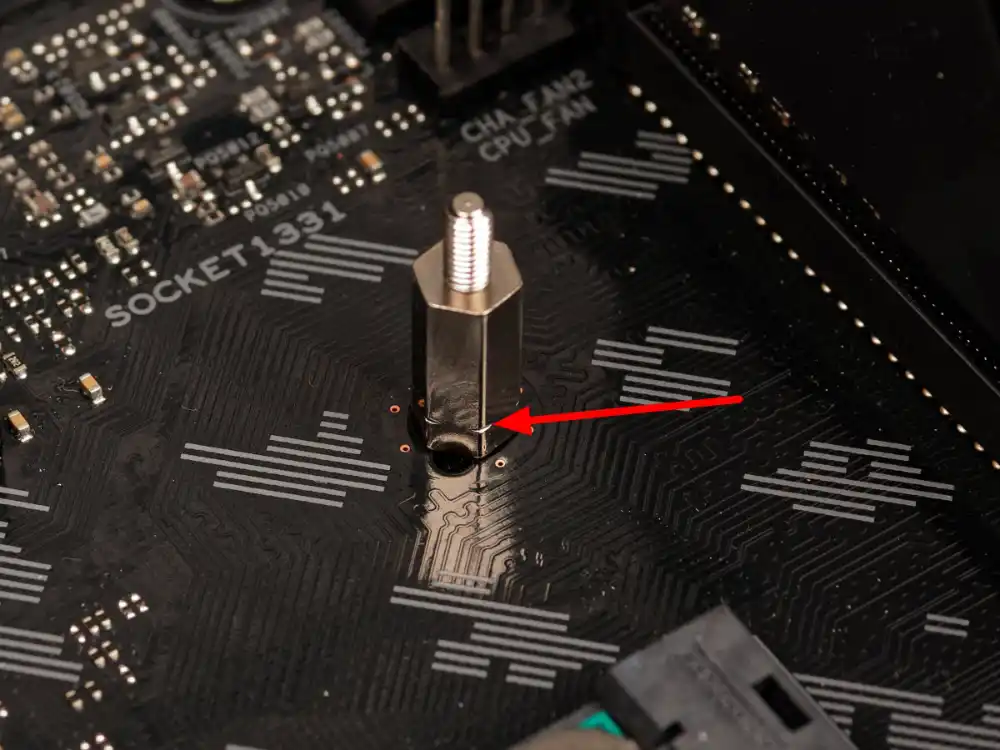
3. Install Spacers
Attach the four spacers to the backplate. Hold the backplate in place while securing the spacers. Ensure the marked line on the spacer faces the motherboard.
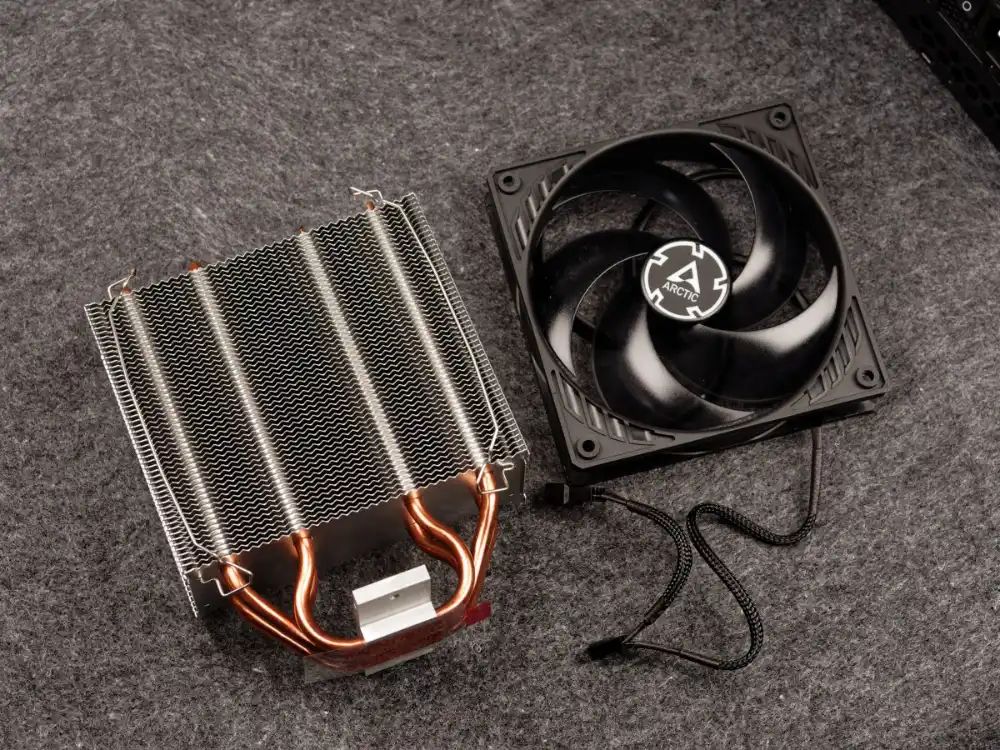
4. Detach the Cooler’s Fan
Carefully remove the fan from the heatsink of the Arctic Freezer 34 to simplify installation.
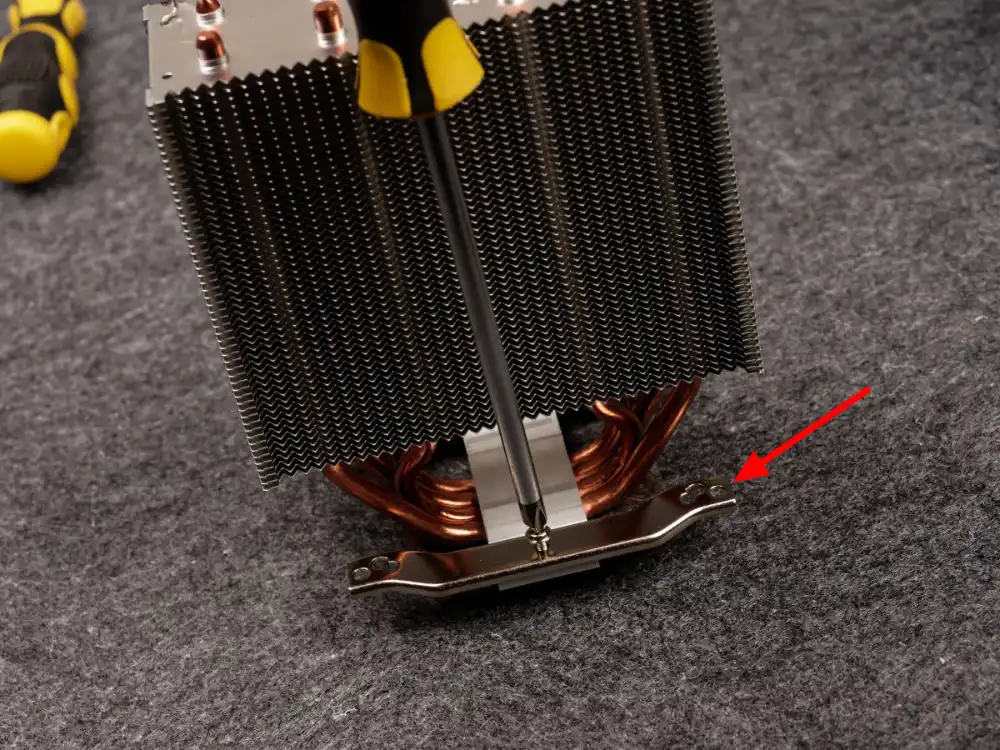
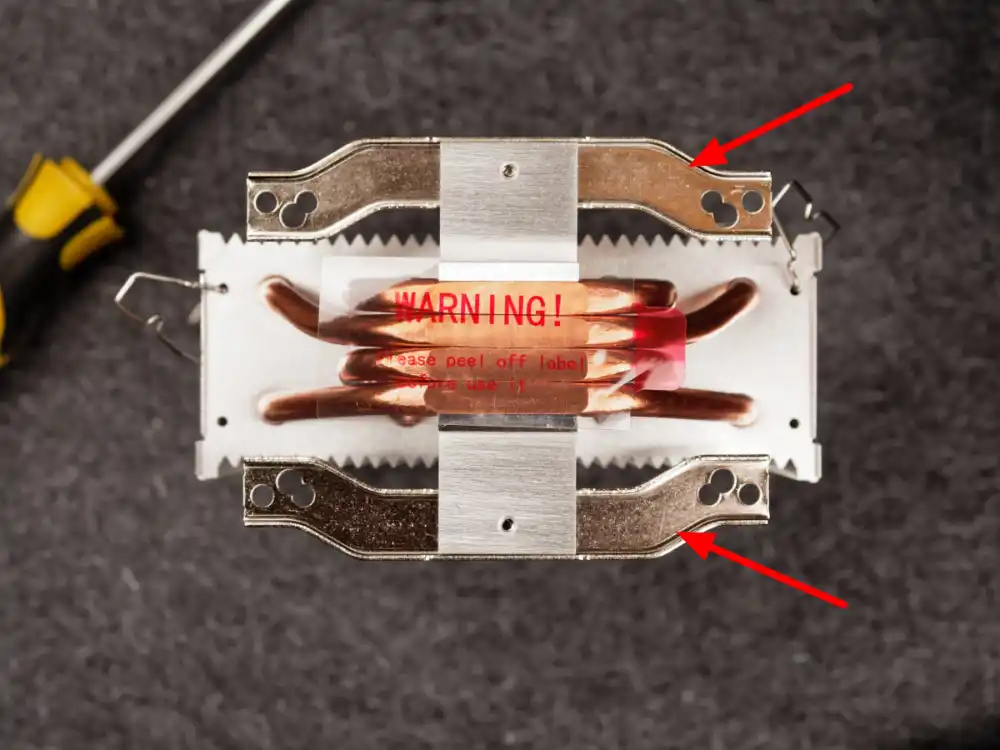
5. Attach Mounting Clips
Install the two mounting clips onto the heatsink, making sure they are oriented correctly.
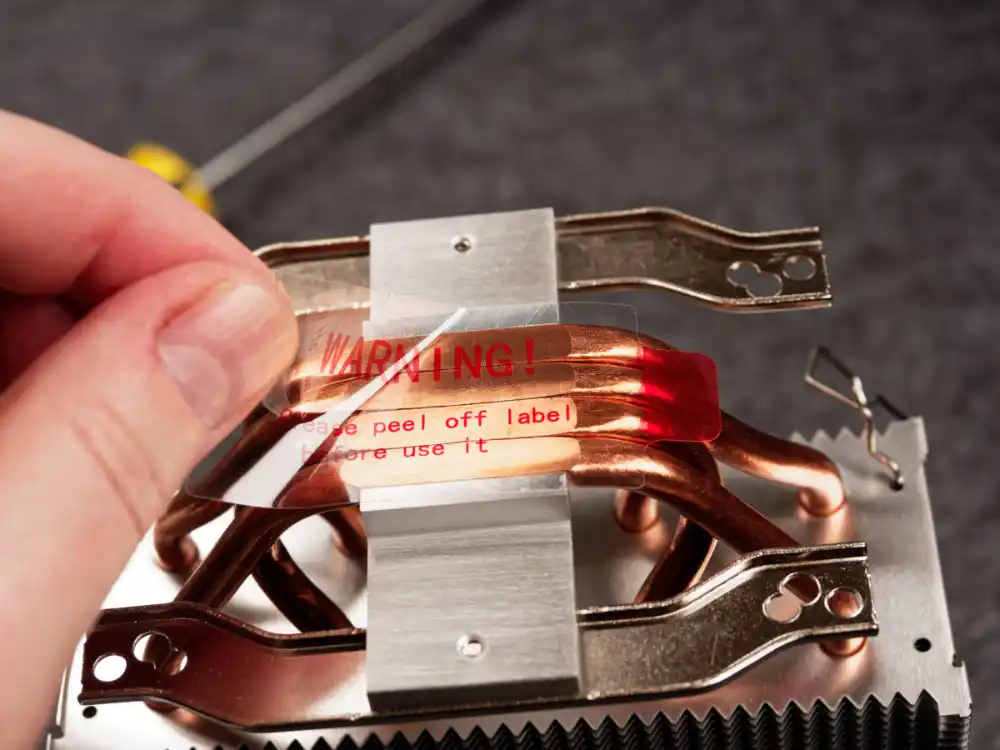
6. Remove Protective Film
Remove the protective sticker from the base of the cooler to expose the contact area for the processor.
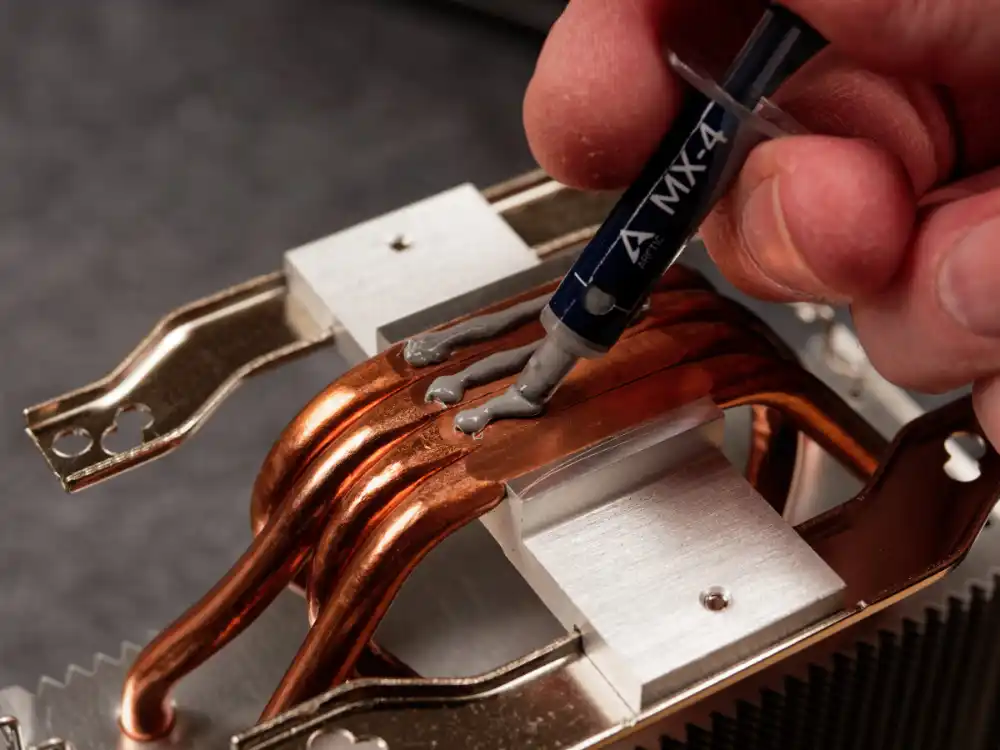
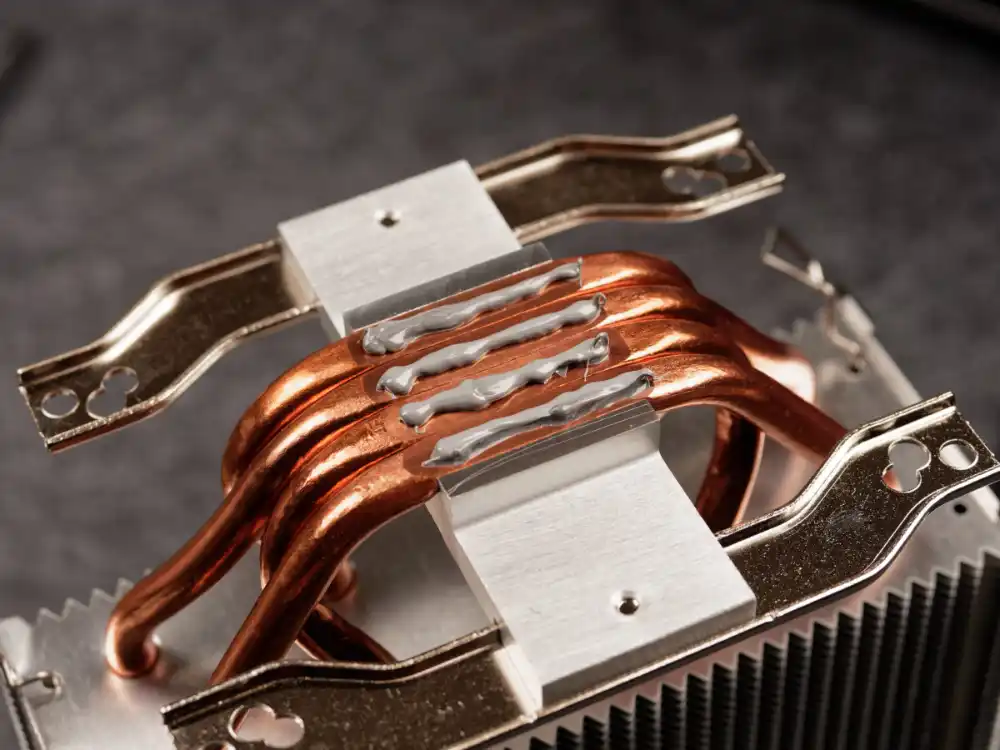
7. Apply Thermal Paste
Apply four thin lines of thermal paste directly to the heat pipes. This ensures even distribution when the cooler is mounted.
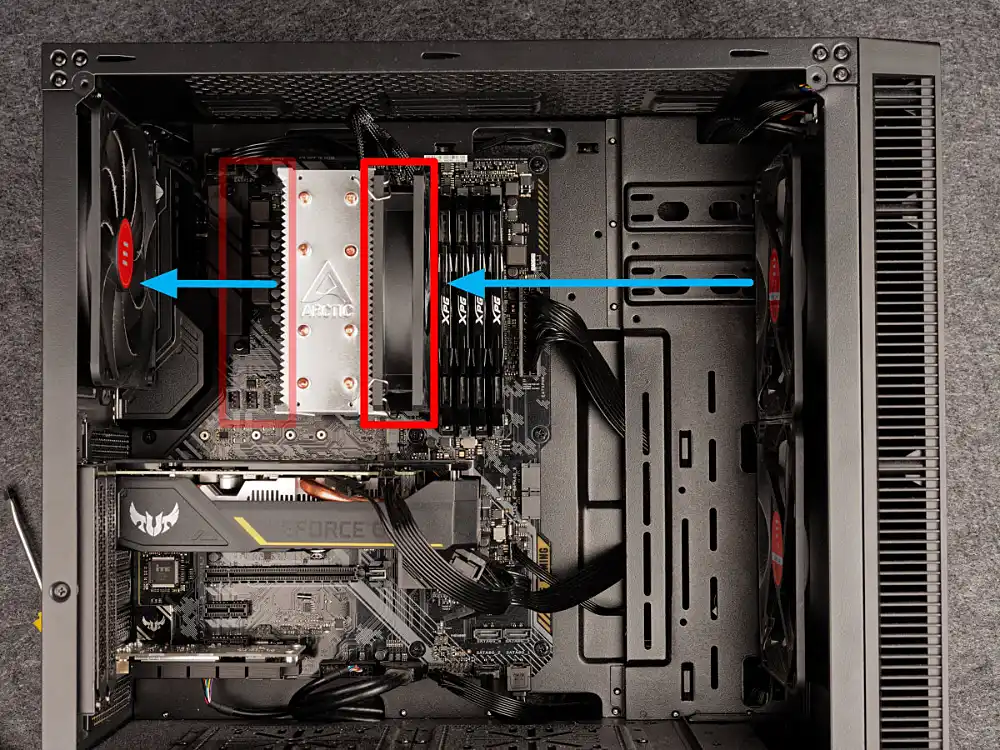
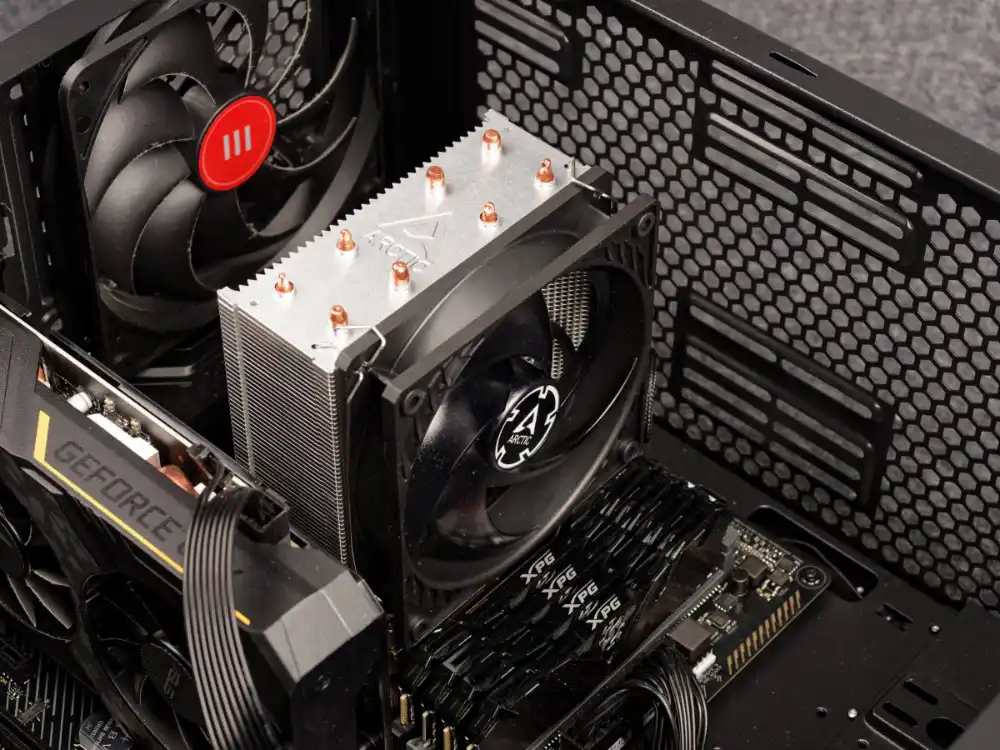
8. Mount the Cooler
Position the cooler on top of the processor, aligning it with the mounting points. Make sure the fan will push air out towards the rear of the case. Depending on your case’s fan configuration, you may need to mount the cooler’s fan on the opposite side.
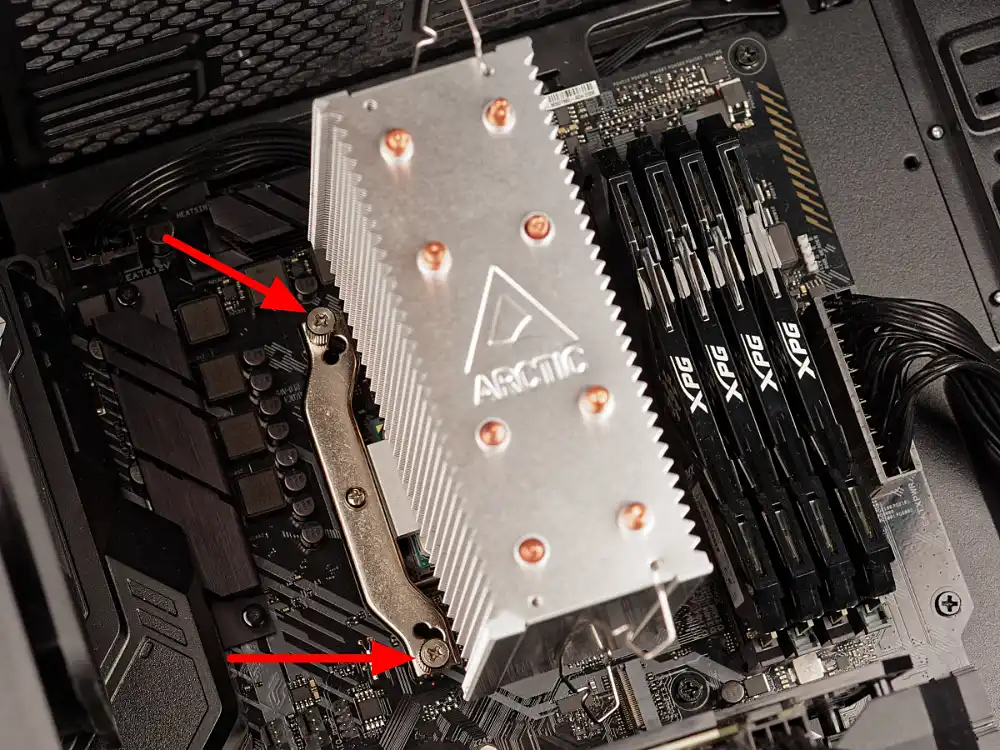
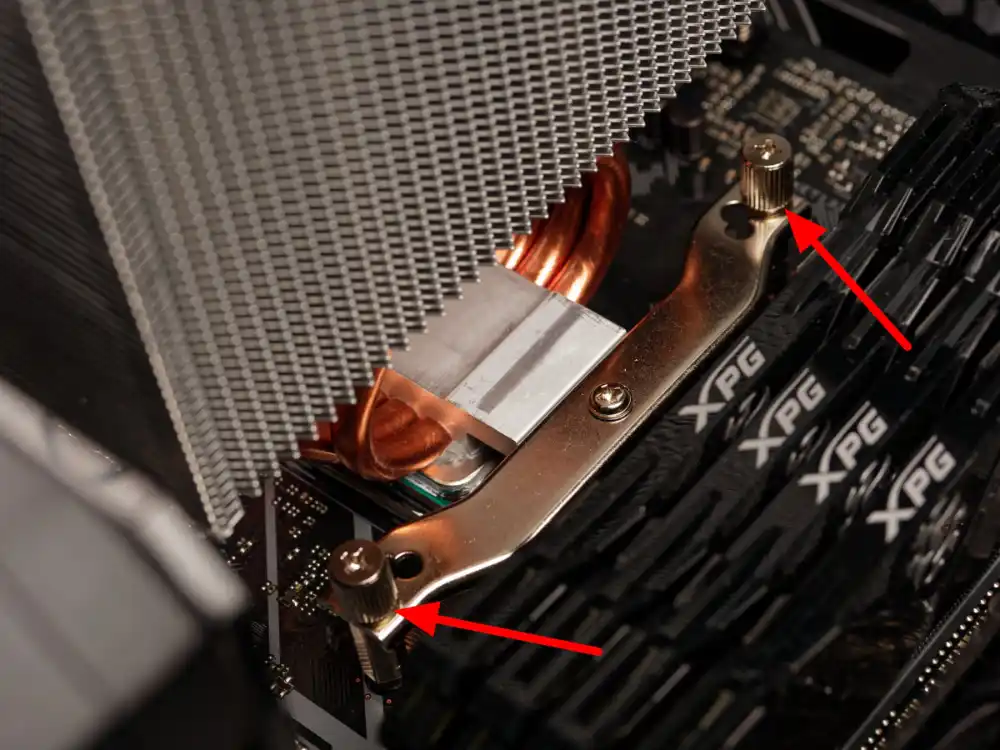
9. Secure the Cooler
Using the provided screws, attach the cooler to the spacers on the motherboard. Do not fully tighten one screw at a time. Instead, alternate between corners, gradually tightening each screw to apply even pressure across the cooler.
10. Reattach the Fan
Once the cooler is securely mounted, reattach the fan to the heatsink and connect the fan cable to the same header on the motherboard from which the original cooler’s fan was disconnected.
11. Test the Installation
Power on your system and check that the fan is spinning. Monitor CPU temperatures using your motherboard’s BIOS or a system monitoring tool to ensure the cooler is functioning properly. If the temperatures are too high, verify that the cooler is correctly installed.