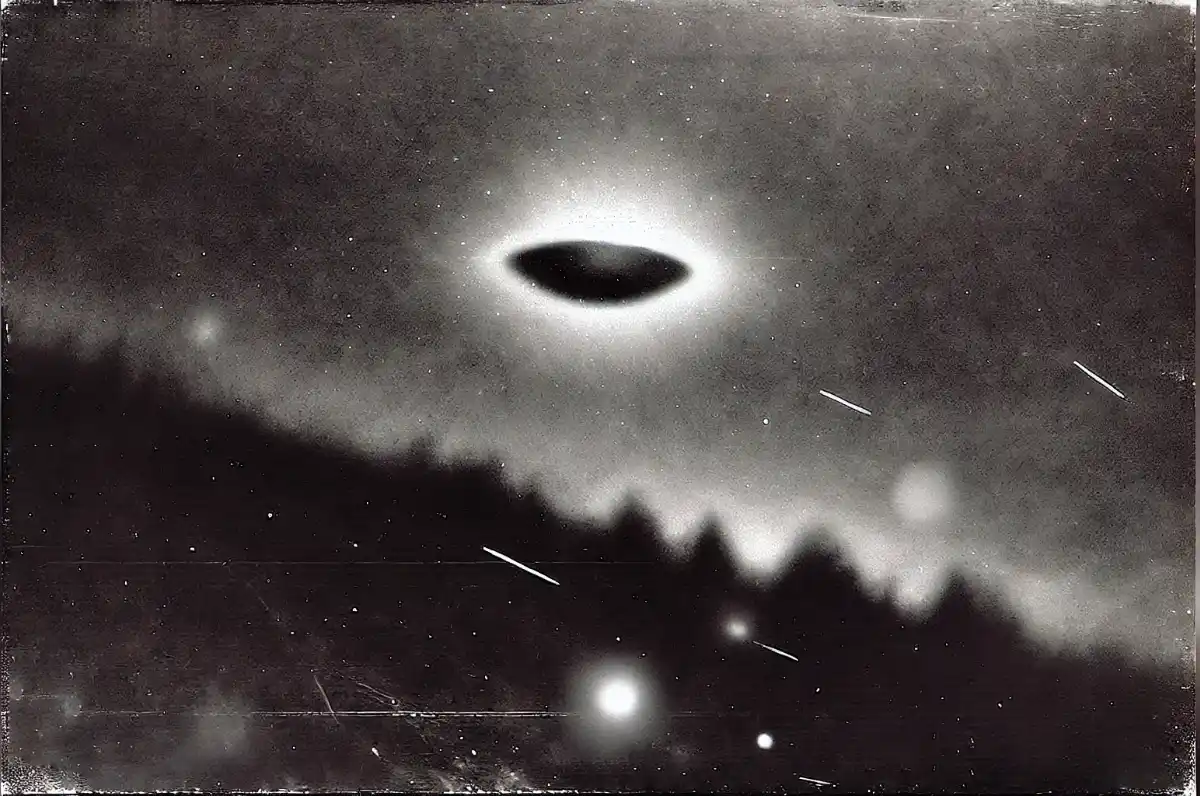
How to Take Credible UFO Photos
Ah, the elusive UFO photo—an art form as old as time and just as blurry. If you’re ready to join the ranks of legendary UFO photographers whose work is celebrated in grainy, indiscernible glory, then you’ve come to the right place. Here’s your ultimate guide to taking the worst, most hilariously bad photos of UFOs.
Choosing the Right Camera: Go Retro or Go Home
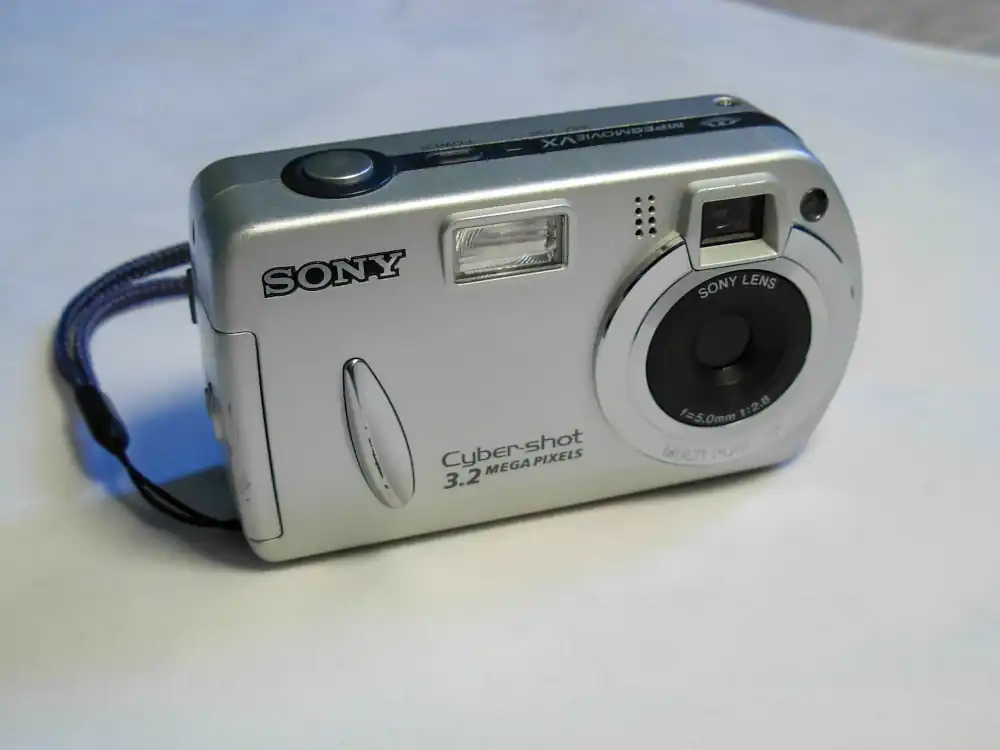
First things first, let’s talk gear. For a truly credible UFO photo, your latest high-end smartphone or digital camera gear worth of a new car, just won’t cut it. Opt for something more traditional—like a digicam from the early 2000. Remember, the fuzzier the photo, the better. Try to find a camera with the following features:
- Bad or no Autofocus: Ensure your UFO remains an unidentifiable smudge.
- Low Resolution: A good 3 megapixel camera should suffice.
- Poor Low-Light Performance: UFOs prefer the night, but your camera shouldn’t.
Lens Selection: The Blurriness Factor
Now, let’s dive into lenses. When capturing UFOs, you’ll want a lens that adds a special touch of ambiguity to your photos. Here are some top picks:
- Fish-Eye Lens: Distort those UFOs into looking like spherical blobs.
- Soft Focus Lens: For that dreamy, out-of-focus look.
- Dirty Lens: Don’t clean your lens—ever. Smudges and fingerprints are your friends.
Camera Settings: The Worse, The Better
Setting up your camera correctly is crucial for subpar UFO photography. Here’s how to mess it up:
- ISO: Set it to 6400 or higher. Noise is your best friend.
- Shutter Speed: The slower, the better. Try five-second shutter speed to ensure motion blur and beautiful light trails.
- Aperture: Go wide open (f/1.8 or lower). Depth of field is overrated and your lens is likely to be softer at wide apertures.
- Manual Focus: Never trust autofocus. Turn that focus ring to whatever feels right.
Editing Tips: Because No UFO is Also a UFO
Sometimes, despite your best efforts, you won’t catch a UFO. Don’t worry, editing is where the magic happens. Here’s how to create a UFO out of thin air:
- Add Noise: Increase the grain to the point where pixels are barely holding hands.
- Motion Blur: Smear everything across the screen. The more streaks, the more “authentic” it looks.
- Overexpose and Underexpose: Alternate between extreme highlights and deep shadows.
- Lens Flare: Sprinkle in some random flares. J.J. Abrams will be proud.
Location, Location, Location
Choosing the right spot is key. You want somewhere remote, mysterious, and preferably where Wi-Fi signals are weak. Top choices include:
- Deserts: Think Area 51. Nothing screams UFO like a barren wasteland.
- Forests: Bigfoot and UFOs often share the same haunting grounds.
- Swamps: The mist adds to the ethereal quality of your photos.
Mental Preparation: Get in the Zone
To capture the most authentic UFO photos, you need to be in the right mindset. Here’s how to prepare:
- Watch Old UFO Movies: The cheesier, the better. Take notes on those special effects.
- Consume Alien-Themed Media: Podcasts, blogs, conspiracy theories—immerse yourself.
- Meditate: Clear your mind of all rational thought. Embrace the absurd.
Field Work: Patience and Paranoia
When you’re out in the field, patience is key. Sit in the dark, whisper to the trees, and occasionally glance at the sky with a look of mild panic. Every flicker of light could be the one. Remember:
- Stay Calm: Don’t scream when you see a firefly. Keep it cool.
- Randomly Click: Take photos of everything and nothing. Something might turn out unusable.
- Talk to Yourself: This isn’t a sign of madness; it’s part of the process.
By following these steps, you’ll be well on your way to creating UFO photos that leave viewers scratching their heads and questioning your sanity. Remember, the goal isn’t to convince anyone that UFOs exist, but to ensure that your photos are just bad enough to make them wonder. Happy hunting!