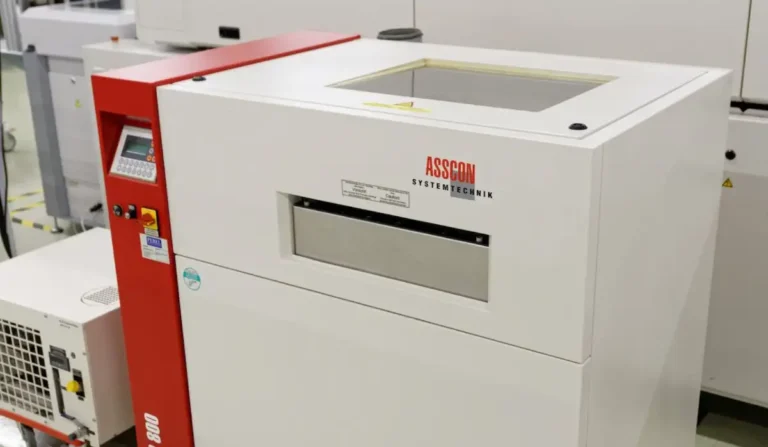
Determining the Thickness of Stencils in Solder Paste Printing
When working with solder paste printing, determining the thickness of the stencil is critical to ensure the correct amount of solder paste is applied. This can either be done based on experience or through calculations that consider the smallest aperture of the stencil.
Key Principle:
The primary rule is that the solder paste must be able to release cleanly from even the smallest apertures of the stencil. At the same time, components that require a higher volume of solder paste must receive an adequate amount through the stencil. Common stencil thicknesses range between 0.100 and 0.150 mm. In some cases, stepped stencils are required. These stencils have variable thicknesses to accommodate components needing different volumes of solder paste.
Calculating Stencil Thickness:
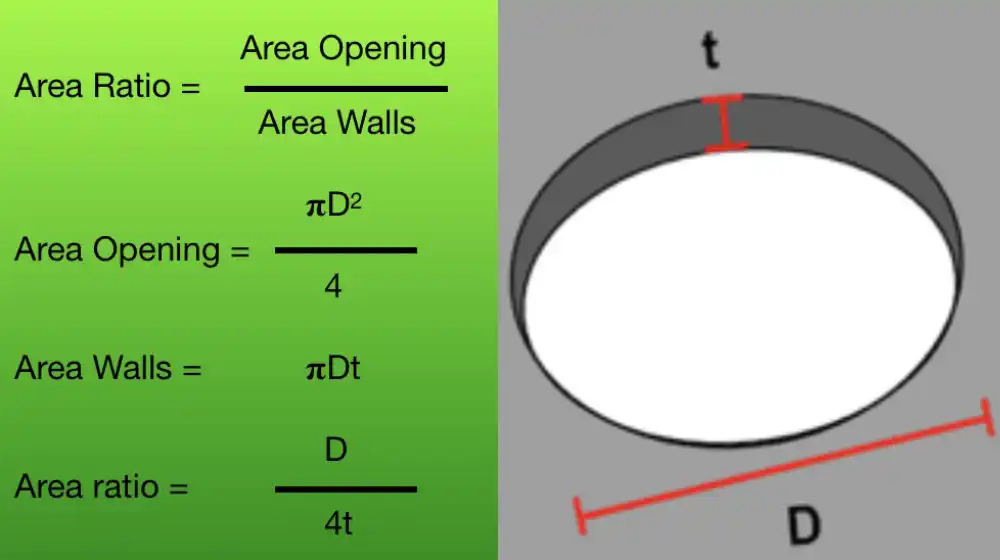
Stencil thickness can be calculated traditionally using a calculator or more conveniently through spreadsheet tools. When calculating stencil thickness, it’s crucial to ensure that the smallest aperture’s “area ratio” is ≥ 0.66. The area ratio is calculated differently depending on the shape of the aperture, and maintaining this ratio ensures that the solder paste releases properly from the stencil.

Choosing the Right Solder Paste
In addition to the stencil thickness, choosing the correct solder paste particle size is equally important. The stencil aperture should fit at least five solder paste particles across its width. The table in the spreadsheet helps in selecting the right particle size based on the aperture dimensions.
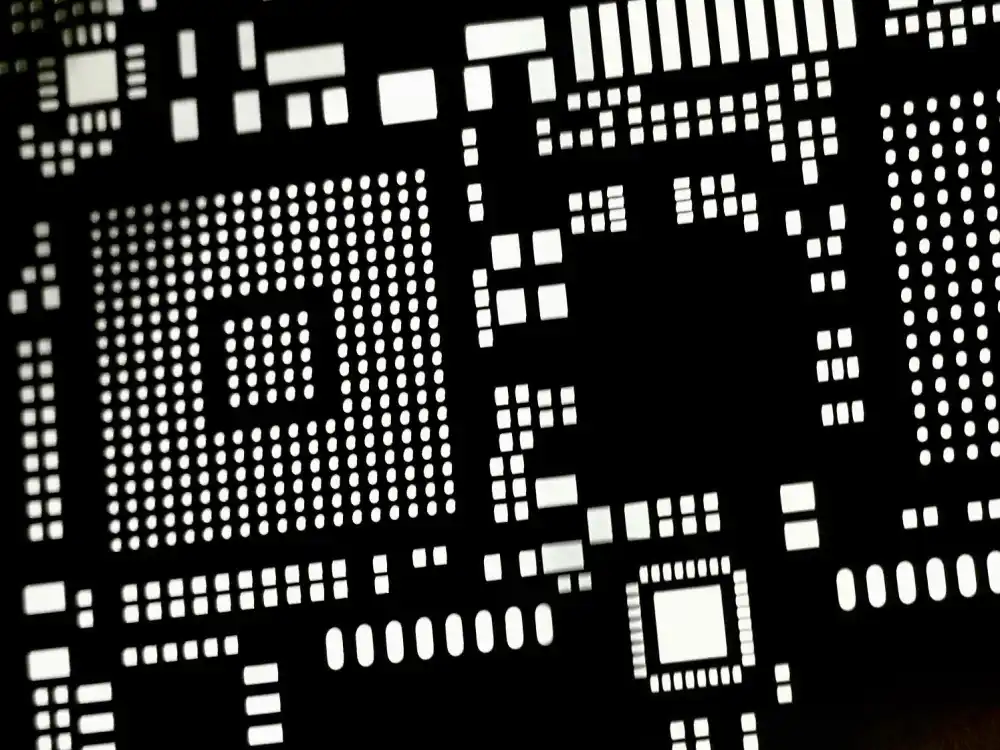
Aperture Calculations:
The spreadsheet provides calculation tools for various aperture shapes, including:
- Circular
- Square
- Rectangular
- Fine pitch
In addition, there’s a section for selecting the solder paste particle size based on aperture dimensions.
Using the Spreadsheet:
You input the dimensions of the apertures from the stencil file, and the area ratio is calculated automatically. You can experiment with different stencil thicknesses until the desired result is achieved.
The “aperture scale” field in the spreadsheet refers to the aperture size reduction, typically set at 10%. If the stencil file already includes reduced aperture sizes, this can be left as 1. If not, you can specify the reduction ratio to match your design. If the aperture is too small and the required stencil thickness cannot be achieved, you may need to increase the aperture size.
- Area Ratio ≥ 0.66: Solder paste will release from the aperture.
- Area Ratio < 0.66: Solder paste will not release cleanly, leading to insufficient solder deposition.
Particle Size Selection:
When determining the particle size, input the aperture width and the reduction percentage into the spreadsheet. A green indicator will show which particle size is appropriate for that aperture size.
For example, solder paste types starting from Type 3 can pass through apertures as small as 0.4 mm.
Conclusion
Selecting the correct stencil thickness and solder paste particle size are key factors in ensuring high-quality solder paste printing. By using tools such as spreadsheets to calculate the appropriate values, manufacturers can optimize their processes and avoid common printing issues such as poor solder release or insufficient paste deposition. Stepped stencils can further enhance precision by allowing variable paste volumes for different components on the same PCB.