The Art of Visual Inspection in Electronics
On today’s episode we’re embarking on a journey through the meticulous process of visual inspection in electronics. This procedure, although demanding, is essential for ensuring the quality and reliability of electronic components.
The Importance of Ergonomics
Visual inspection and rework of electronics require full concentration and can be grueling if done with improper tools or without appropriate breaks. Ergonomics plays a crucial role here. Your workstation should be equipped with the best tools and furniture to ensure efficiency and comfort. Remember, the success and quality of your work greatly depend on your tools and how comfortable you are using them.

The Accuracy Challenge
Manual visual inspection accuracy ranges from 55% to 75%. This variance is due to the heavy reliance on the inspector’s skill and the tools at their disposal. There are three main elements to master for effective inspection:
- Knowing what to look for.
- Knowing how to look for it.
- Deciding whether a deviation can be accepted or must be rejected.
Learning to recognize deviations and understanding quality standards takes time and practice. The easier way to start is by familiarizing yourself with acceptable solder joints and identifying those that deviate from the norm.
Step-by-Step Visual Inspection
- Initial Overview: Start with a general look at the board without magnification.
- Sector Division: Mentally divide the board into sectors and choose a starting point.
- Detailed Inspection: Inspect each sector systematically, using magnification if needed.
When using a microscope, pay close attention to the edges of your field of vision. Let your gaze wander and focus only on anomalies. Keep the circuit board in constant motion under the microscope and scan its surface thoroughly.
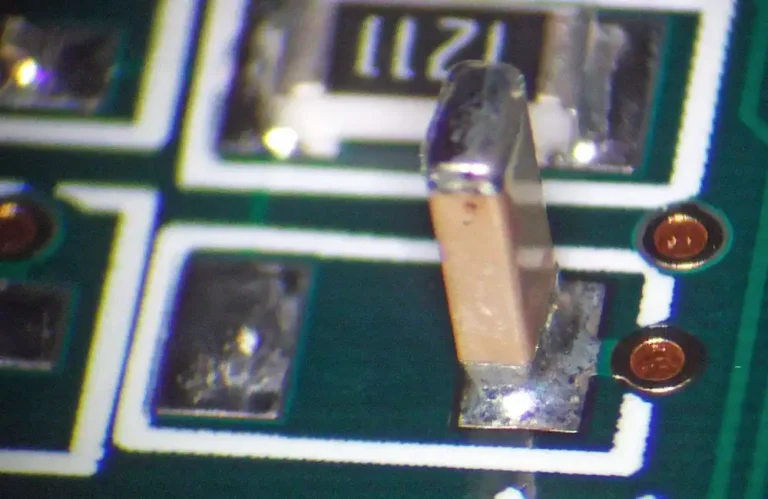
Recognizing Solder Joint Anomalies
Differences in light reflection are your best friends here. Normal solder joints reflect light uniformly, while anomalies often show bright reflections or unusual light behavior. Missing components can be spotted by the bright “solder pads” left behind. However, distinguishing between intentionally and unintentionally missing components can be challenging.


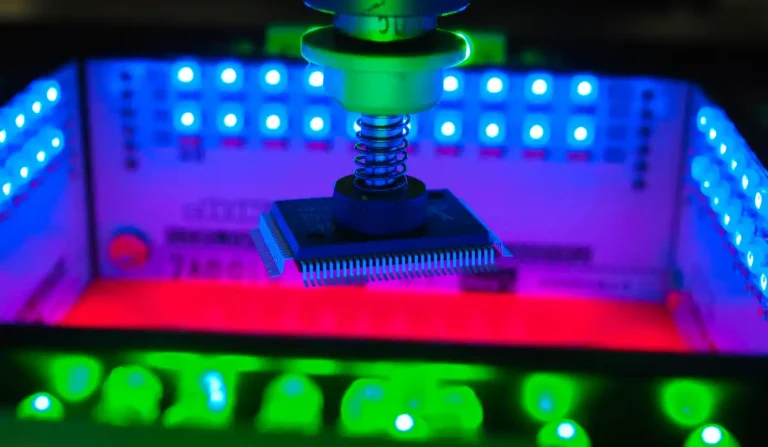
Tools of the Trade
For effective visual inspection, especially over extended periods, consider the following tools:
- Stereomicroscope: Ideal for short, precise inspections. The Vision Engineering Mantis stereomicroscope is perfect for prolonged use due to its ergonomic design.
- Magnifying Lamps: Affordable and useful for every workstation. Ensure they have good optics and sturdy arms.
- Inspection Accessories: Tweezers, brushes, cotton swabs, and cleaning chemicals are essential. Dental instruments are excellent for testing solder joints and performing mechanical cleanups.


Conclusion
Mastering the art of visual inspection in electronics requires patience, practice, and the right tools. By paying attention to ergonomics, using appropriate equipment, and systematically inspecting components, you can significantly improve the accuracy and efficiency of your inspections. Happy inspecting!